
How to Get the Best Image From Your Panoramic Machine
· David Hanning
Most of what goes wrong on a panoramic image is settled before anyone presses the button. In a study of 1,782 panoramic radiographs, 89 percent had at least one positioning error, and the most common was also the simplest: in 55.7 percent of the images, the tongue wasn’t against the palate. Those images came from a dental college, so your office’s numbers will look different, but the causes are the same ones I walk practices through.
Three things decide most of what you see on a pan: where the head sits in the lasers, how well the patient was coached, and whether the exposure suits that patient. Once your team has those down, the image itself starts telling you what to change on the next one.
Images for illustrative purposes only.
Three lasers, three kinds of error
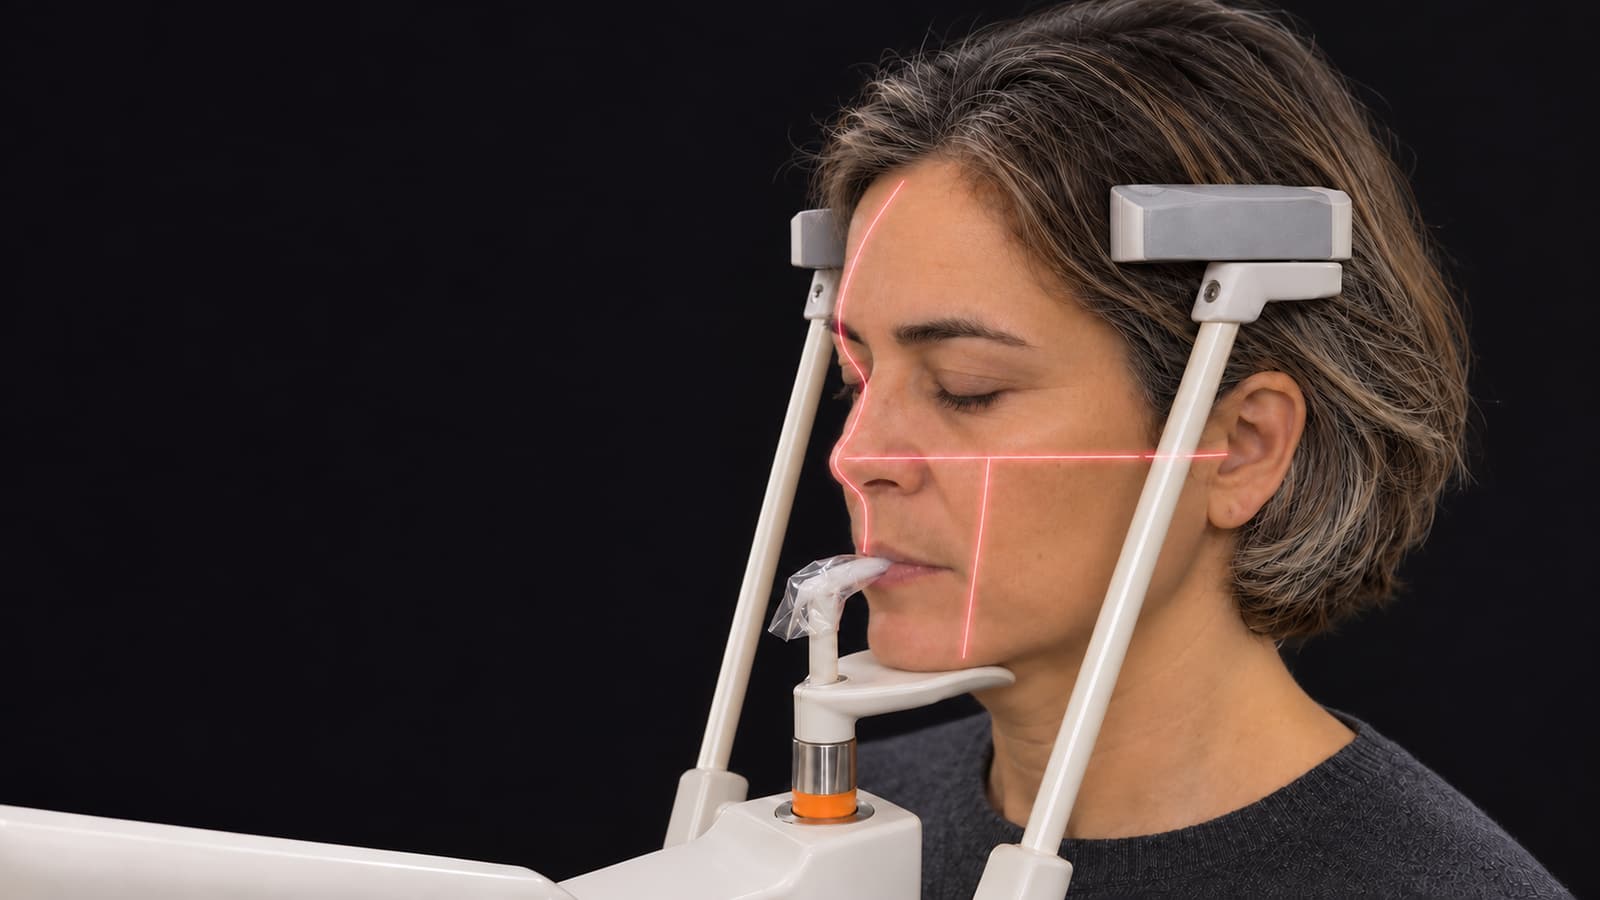
If there’s one thing I’d want your whole team to understand, it’s the alignment lasers. Most panoramic machines have three, and each one guards against one kind of head error, so a bad pan points you straight back to the beam that caused it. Names and landmarks vary by manufacturer, and some units use fewer beams plus a bite groove, so check your manual, but the logic carries across machines.
| Beam | Where it goes | What it controls | What you see when it’s off |
|---|---|---|---|
| Frankfort plane (horizontal) | Evenly from the tragus of the ear to the infraorbital area, just under the eye | Up-and-down tilt of the head | A frown or an exaggerated smile |
| Canine (vertical, side of the face) | At the canine; the exact landmark depends on your unit | Front-to-back position in the focal trough | Front teeth narrow or wide, and blurred |
| Midsagittal (vertical, center of the face) | Down the midline of the face | Left-right position and rotation | One side larger than the other |

Frankfort plane: the smile and the frown
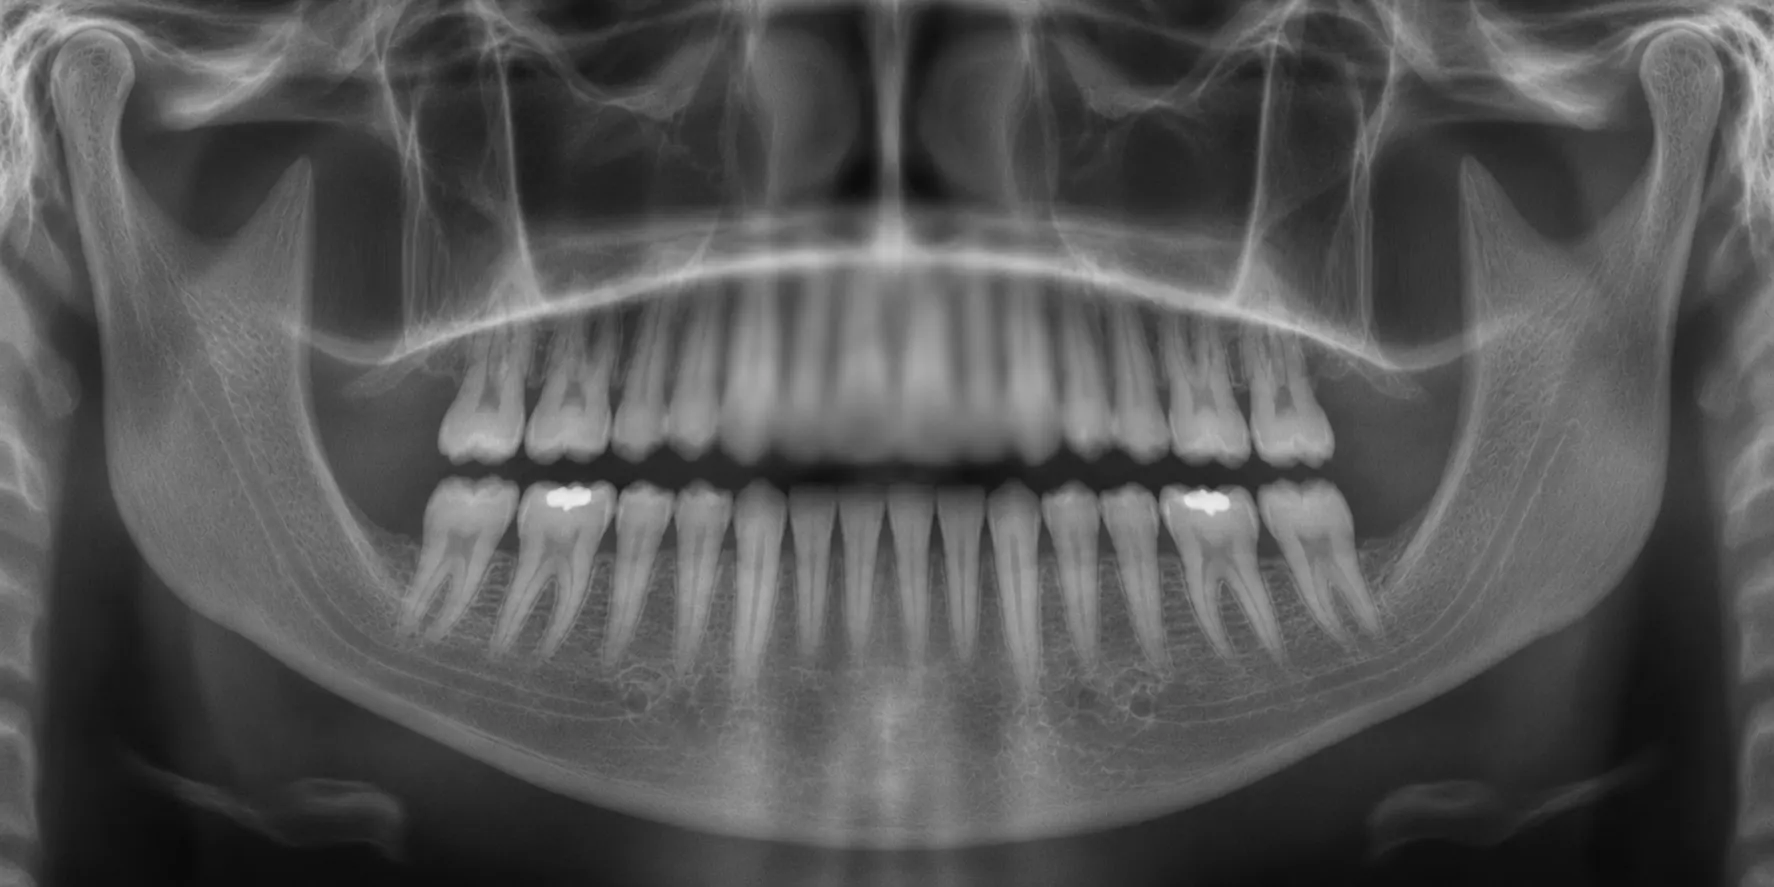
A well-positioned pan has a slight smile to it: the occlusal plane curves gently upward toward the back. The horizontal beam is what controls that curve.
When the chin sits too high, the curve flattens or turns over into a frown. The upper incisors blur and enlarge, the hard palate can drop across the upper roots, and the condyles ride out toward the edges of the image. Drop the chin too low and the smile gets exaggerated. Now it’s the lower incisors that blur and their roots that look short, the condyles sit high, and the front teeth can start to overlap.
When you’re setting the patient up, you’re looking for that beam to run evenly from the tragus of the ear to the infraorbital area, just under the eye. If it doesn’t, the chin needs to move.

Canine beam: the focal trough
The focal trough is the curved band the machine keeps in focus. Anything in front of it or behind it blurs, and the front of the arch shows that first because the band is narrowest there. The canine beam is how you know the arch is sitting inside that band.
A patient who’s too far forward gets narrow, blurred front teeth, and the spine can show at the sides of the image. Too far back, the front teeth go wide and blurred, and the ramus can get clipped. Back is the one I’d watch for: in that same study of 1,782 images, backward positioning (30 percent) was more common than forward (18.3 percent).
It helps to start with the bite. Once the incisors are seated in the groove of the bite block or bite stick, a quick smile lets you see the canine and where the beam is falling. On a Morita X800, you want it at the distal edge of the canine. Other units have their own landmark, so it’s worth checking yours.

Midsagittal beam: one side bigger than the other
The vertical beam runs down the center of the face, and it’s how you know the head is straight. If the head turns, the side farther from the receptor is magnified and the closer side looks smaller, so the ramus and posterior teeth stop matching from side to side and the contacts can overlap. A head tilted sideways shows up differently, as a slanted image with one side smaller.
Once the beam is centered and running straight from forehead to chin, the temple supports are what keep the head from drifting, if your unit has them. On the X800, we tell offices to tighten them until they flex.

Before the patient steps in
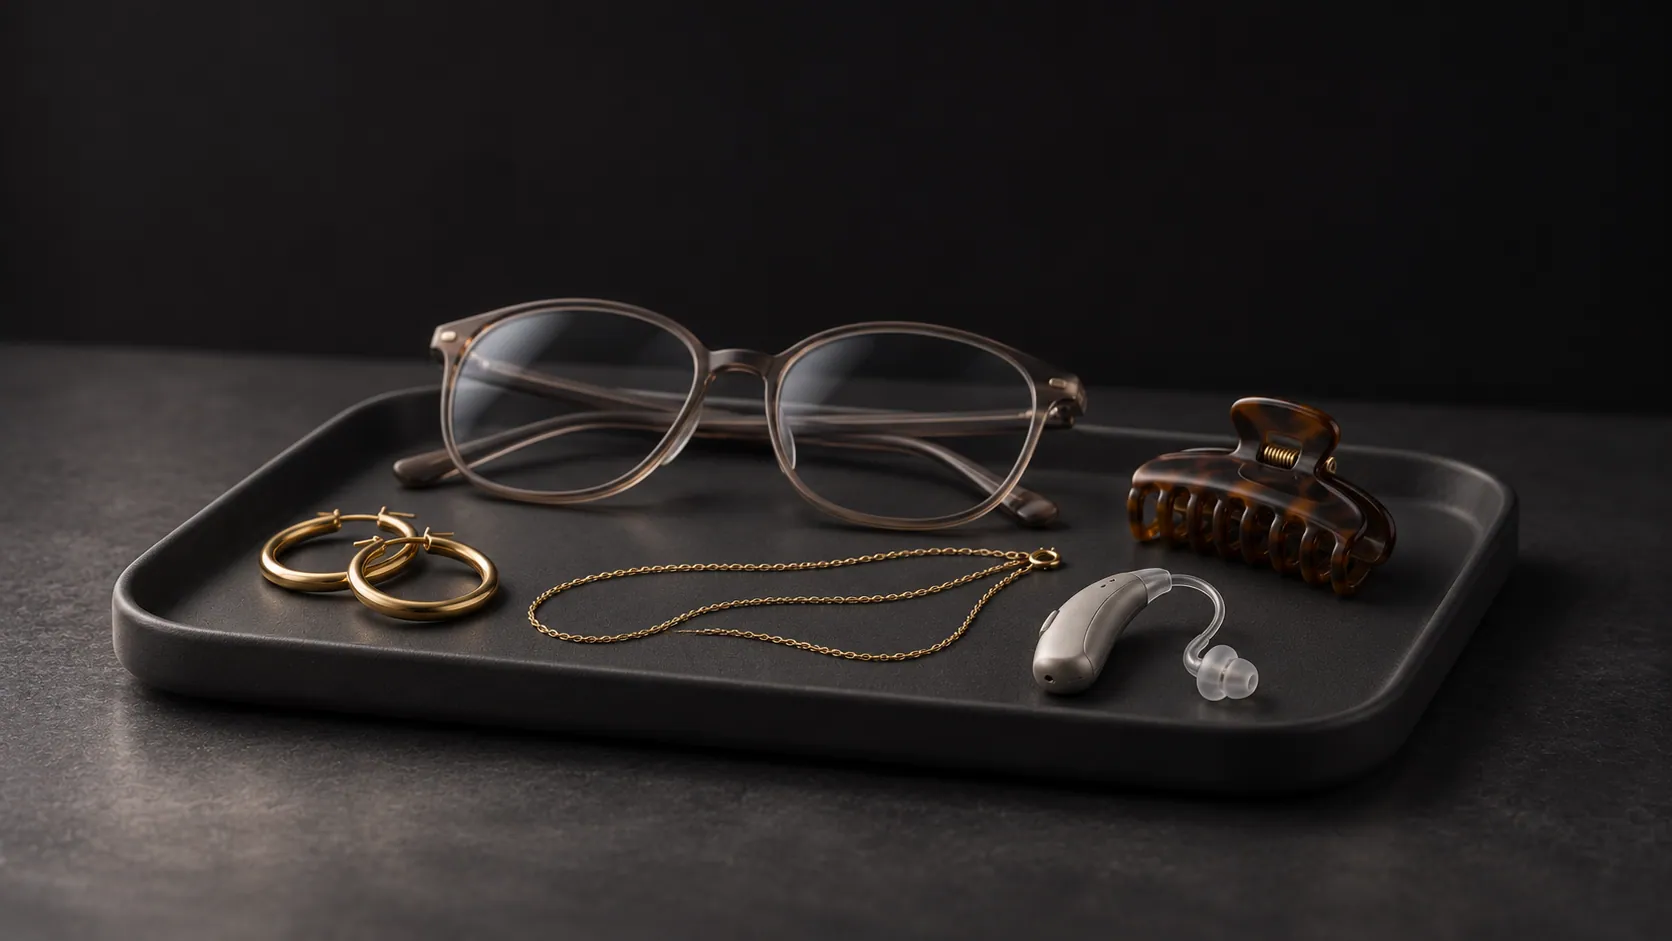
It’s important to get everything metal off from the neck up: earrings, necklaces, glasses, hairpins, piercings, hearing aids and removable appliances. Metal causes two problems. The object images as itself, and it can also throw a ghost: a second copy on the opposite side of the image, sitting higher, enlarged and blurred mostly in the vertical direction. That’s how one forgotten earring ends up smearing across anatomy on the far side of the image.
Every so often something truly won’t come off, and some machines have a mode for that. The X800’s Shadowless projection is meant for jewelry or prostheses that can’t be removed.

The program is worth a glance before they step in, too. A child or orthogonal program left on from the last patient limits what the next image covers.
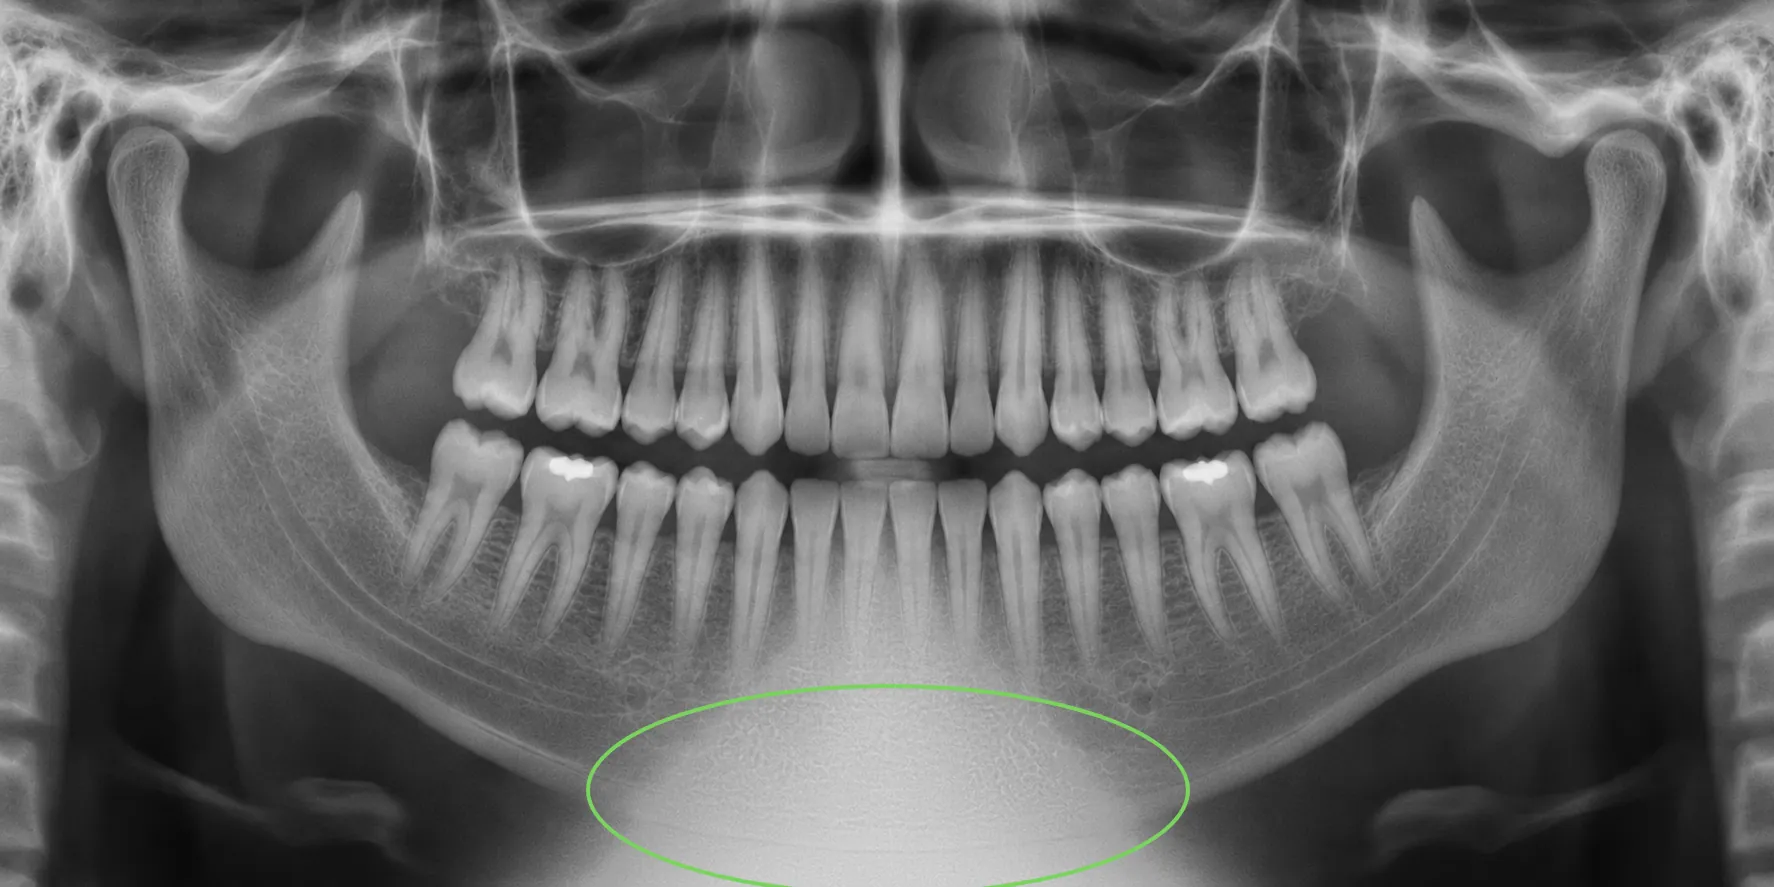
If your office still drapes an apron, this one’s worth a fresh look. In February 2024 the ADA said lead aprons and thyroid collars are no longer recommended, in part because they can block the beam and force another exposure. The AAOMR committee’s report recommended discontinuing routine thyroid shielding for panoramic imaging specifically. State and local rules still apply, so you’ll want to check yours. Where an apron is still required, use one without a thyroid collar, because a collar in the beam throws a cone-shaped white shadow into the middle of the image.
What to tell the patient, and why

I’d tell the patient why you’re asking as you go. Someone who knows the tongue is up there to clear the view of their upper roots has a reason to keep it there for the whole rotation.
Posture comes first. A small step forward, plus a reminder to stand up tall, straightens the neck. A slumped spine leaves a white, tapered shadow down the middle of the image, over the front teeth, and it turned up in 35 percent of the images in that study. If someone can’t stand straight, I’d seat them and remind them to sit upright.
Next is the bite. Seating the incisors in the groove is what puts the front teeth in the focal trough, so it’s worth a second look before you move on.
The tongue is the one I’d spend the most time on, since it was the most common miss in that study. I’d say something like, “Swallow, then press your tongue flat against the roof of your mouth and keep it there.” Swallowing brings the tongue up to the palate. If it drops, the air between the tongue and the palate reads as a dark band across the upper roots, right where you’re trying to read. Let them know they shouldn’t swallow again until the machine stops.

Lips and eyes come last. Closing the lips around the bite block keeps a dark shadow off the front teeth. Then I’d ask them to close their eyes and stay still until the machine stops, because movement shows up wherever the beam was at that moment, often as a step in the lower border of the mandible.
Before you press the button, take one more look to be sure the arm clears the shoulders, since contact can stop the rotation. And for someone who struggles to stay still, a faster program can help: the X800’s HS speed cuts a scan from about 14 seconds to about 7.

Set the exposure for this patient
Most machines give you size presets such as small, medium and large, often with a child setting, plus manual control. I’d treat a preset as a starting point and judge it against the image you get back. On the X800, for example, we start in Automatic at exposure level 6.
kV sets how penetrating the beam is, and mA sets how much radiation the tube produces. Incorrect kV is the most common machine variable error: too high gives a dark image and too low gives a light one. Digital is less forgiving than people assume, too. Software can pull back an overexposed image, but a severely underexposed one is missing information that no brightness slider can restore.
Some machines also have a low-dose or dose-reduction mode, which is a useful option when the diagnostic question allows it. It also means a pan that looks thin or grainy may be doing exactly what it was set to do, so the preset and that mode are the first places I’d look before deciding something’s wrong with the machine. Whether to change it is the doctor’s call, case by case, and the standard is the lowest dose that still answers the question.

Read the pan before the patient leaves
This is the best moment to look, while the patient’s still there and you can remember exactly how you set them up. A short checklist helps, and the criteria in the Practical Panoramic Imaging course on dentalcare.com make a good one. On a good pan, you want to see:
- The entire maxilla and the TMJs on the image
- Right and left sides that match
- A slight smile in the occlusal plane
- Teeth with little under- or over-magnification
- The tongue up and the lips closed
- Little or no spine shadow
- Acceptable density and contrast
Some overlap of the posterior teeth, especially the premolars, is expected, so you can stop chasing that one. The course doesn’t set an order, so use one your team will stick to, and keep going after you find the first thing. The authors of that 1,782-image study saw multiple errors in one image in many instances, and radiologists call the related trap satisfaction of search: once you’ve found one abnormality, it’s easier to miss the next one.
Pano troubleshooter
Pick the error you’re seeing, then drag across the image to compare it with a correct one.
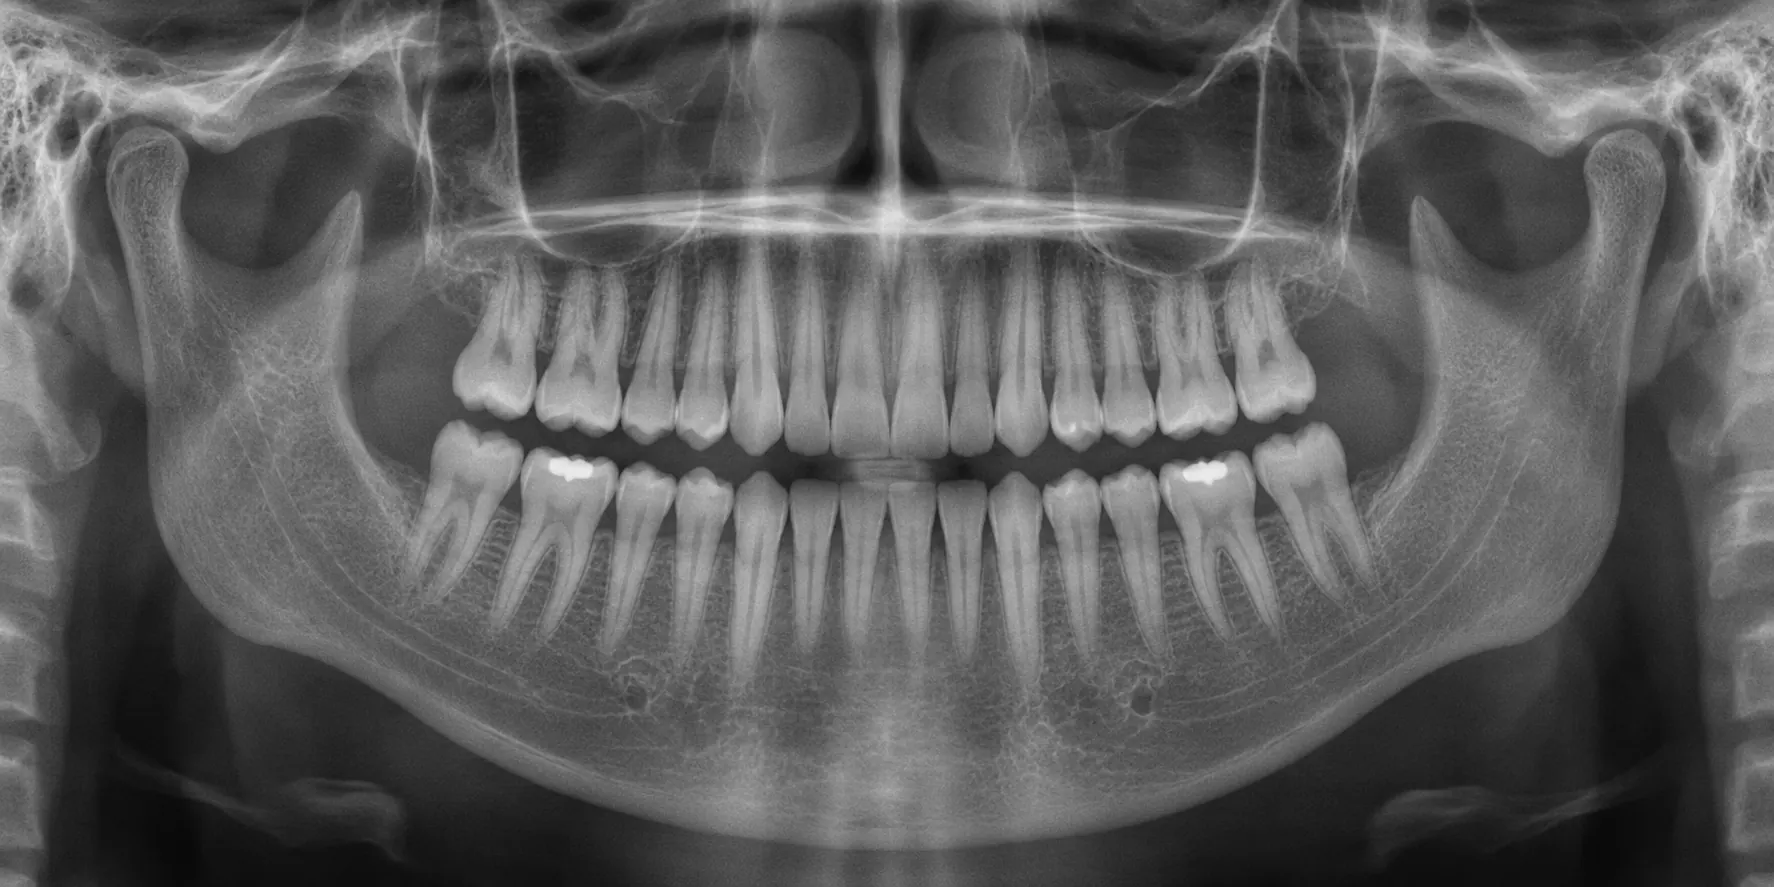
- What you see
- Occlusal plane flat or curved down, upper incisors blurred
- What happened
- Chin too high
- What to change
- Run the Frankfort beam evenly from the tragus to the infraorbital area
| What you see | What happened | What to change |
|---|---|---|
| Occlusal plane flat or curved down, upper incisors blurred | Chin too high | Run the Frankfort beam evenly from the tragus to the infraorbital area |
| Exaggerated smile, lower incisors blurred, condyles high | Chin too low | Run the Frankfort beam evenly from the tragus to the infraorbital area |
| Front teeth narrow and blurred | Too far forward | Seat the incisors in the groove, recheck the canine beam |
| Front teeth wide and blurred | Too far back | Seat the incisors in the groove, recheck the canine beam |
| One side larger, posterior contacts overlapping | Head turned | Center the midsagittal beam, close the temple supports |
| Image slanted, one side smaller | Head tilted sideways | Straighten the head against the midsagittal beam |
| Dark band across the upper roots | Tongue off the palate | Swallow, tongue flat on the roof of the mouth, hold |
| Dark shadow over the front teeth | Lips open | Lips closed around the bite block |
| White, tapered shadow down the middle | Slumped spine | Step in, stand tall, or seat the patient upright |
| Step or wave in the lower border of the mandible | Patient moved | Coach stillness, clear the shoulders, consider a faster program |
| Blurred, higher copy of an object on the far side | Ghost from metal | Remove the object, or use a ghost-reducing mode if your unit has one |
| Cone-shaped white shadow low in the center | Apron or collar in the beam | Drop the shield if your state allows, or use one without a collar |
| Whole image dark or light | Exposure too high or too low | Change the preset or kV, and check for a dose-reduction mode |
Not every flaw is worth a retake, either. Most pans carry minor errors that don’t get in the way of diagnosis, and another exposure is another dose. If the image still answers the doctor’s question, I’d keep it and fix the technique on the next patient. The ones that usually do call for a retake are the ones where something’s missing or hidden: a condyle, the front of either arch, or the ramus.
When the patient isn’t the problem
Sometimes the setup isn’t the issue at all. When an artifact keeps showing up no matter who the patient is or who’s running the machine, that’s when I’d call whoever services it. They can walk you through quality assurance procedures or connect remotely to help sort out whether it’s the machine or the technique. Most issues we see can be resolved remotely, often in minutes, so it costs very little to ask. Expert support is a phone call away.
Where a pan stops
A perfect pan is still one flat picture of a curved layer. Structures overlap, magnification varies across the image, and it can’t show you where a root, a canal, a nerve or a sinus sits in the third dimension. When that position changes the treatment plan, 3D is what answers it, and in many offices the panoramic exam now runs through the same machine. If you’re weighing the two, I laid out how to decide which to buy first, and if you already have 3D and want a faster read, start with our CBCT basics lesson.
If you’re ready to go from 2D to 3D, or you aren’t satisfied with the 3D system you have now, give us a call at 800-672-5733.